Here is a compete step-by-step notes that i recorded while walking through the installation process :
Before you can start, download the latest Solaris 10 x64 ISO file from sun.com and install Vmware server from vmware.com :
1. File –> New –> Virtual Machine
2. Click Next on the first scren.
3. Click Next (i.e. Keep Typica configuration)
4. Choose “4. Sun Soaris†for Guest Operating System.
5. (Optional and only if you have a 64 bit capable machine) choose “Solaris 10 64-bit†for Version.
6. Click Next
7. (Optional) Change Location of the virtual machine by click Browse
8. Click Next
9. Choose “Use network address translation (NAT)†and click Next.
10. (Optional) If want to save a little bit of unused space at the expense of slightly slower disk acces speed, uncheck “Allocate all disk space nowâ€
11. Double click on CD-ROM from Devices panel
12. Choose “Use ISO imageâ€
13. Click Browse to choose the DVD ISO file you downloaded earlier.
14. (Optional) Adjust the amount of RAM and number of CPUs you want to allocate to this image.
15. Click “Power on this virtua machineâ€
16. Enter on BRUB menu for default “Solarisâ€
17. Enter 1 for “Solaris Interactive (default)â€
18. Enter 0 for English. Choose a different language if you wish.
19. Click Next
20. Choose Networked and click Next
21. Choose DHCP if non of the applications you use doesn’t require static IP. Click Next.
22. Click Next (i.e. not enabe IPv6)
23. Click Next (i.e. not enable Kerberos)
24. Click Next (i.e. not eanble Name Service)
25. Click Next (i.e. Use default method to define timezone)
26. Choose your geographical location to choose a timezone and click Next.
27. Click Next (i.e. to accept the date and time)
28. Enter a root password.
29. Click Confirm to accept Selection Summary
30. Click Next
31. (Optional) Choose No for “Reboot automatically after software instalation†Since the CD-ROM was “entered†by software configuration and “eject†is better done via VMWare’s configuration. In case you were not watching when the install completed, it is probably better to let it wait for you to manualy reboot and umount CDRom via VMWare’s configuration window. Click Next and click OK on the pop-up window.
32. Click Next to accept the default Media, which is CD/DVD
33. Check Accept and click Next
34. Choose Custom Install and click Next
35. Expand North America, check “English (United States) (en_US)†and “English United States, UTF-8)(en_US.UTF-8)†and click Next
36. Choose en_US.ISO8859-1 and click Next
37. Click Next (i.e. not install extra software)
38. Click Next (i.e. keep none for no additional software through Web Start)
39. Choose Entire Group Pus OEM and click Next
40. Click Next to accept the default deisk selection
41. Click Next to accept the default disk for partition customization
42. Click Next to accept allocation of all space to Solaris
43. Click Modify to edit partition information
44. Remove slice 7 entry
45. Increase the swap size to the double the amount of RAM you allocated for Solaris in VMWare.
46. Add the remaining disk space to / and click OK
47. Click Next to continue
48. Review the configuration. If everything looks correct, click Install Now. Now you may want to take a break or do something else and check back once in a whie to check on the installation progress.
49. After installation, you should see a Reboot Now Button. Click it.
50. View –> Current View –> Summary
51. Double click on CD-ROM
52. Choose “Use a physical drive:†and click OK
53. If you get an error, just click OK. You probably don’t have a CD/DVD media in your computer at this time.
54. View –> Current View –> Console
55. Press “Enter†key to not override the system’s default NFS version 4 domain name.
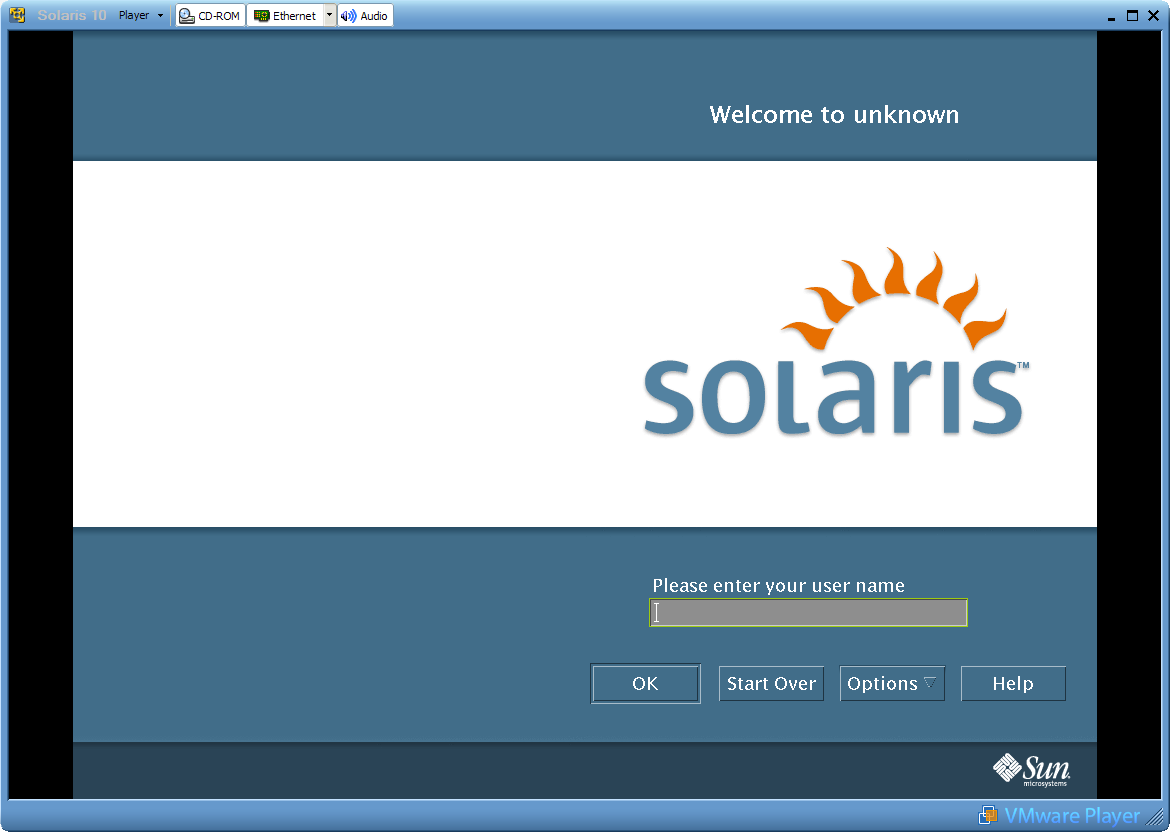
56. You should see the login screen once Soalaris completed boot process. Enter root and root password to start using Solaris. Make sure you use JDS 3 by clicking on Options –> Session –> Java Destop System, Release 3 from the boot menu.
APPENDIX A: Install VMWare Tools
1. VM –> Instal VMWare Tools
2. Click install
3. Launch –> Applications –> Utilities –> Terminal
4. cp /cdrom/vmwaretoos/vmware-solaris-tools.tar.gz /tmp/
5. cd /tmp
6. gunzip vmware-solaris-tools.tar.gz
7. tar xvf vmware-solaris-tools.tar
8. cd vmware-tools-distrib
9. ./vmware-install.pl
10. Enter to accept default directory at /usr/bin
11. Enter to accept default directory at /etc
12. Enter to accept default directory at /etc/init.d
13. Enter to accept default directory at /usr/sbin
14. Enter to accept default directory at /usr/lib/vmware-tools
15. Enter to accept creating the directory
16. Enter to accept default documentation directory at /usr/share/doc/vmware-tools
17. Enter to accept creating the directory
18. Enter to accept executing /usr/bin/vmware-cofnig-tools.pl
19. Enter to accept creation of /etc/X11/xorg.conf file
20. Enter the appropriate number that represent the correct resolution for your monitor.
21. Restart X session or reboot
Another link for this by images is this : http://zakkiahmed.wordpress.com/2009/08/12/installing-solaris-10-on-vmware/